When you sprinkle table salt on a snowy driveway, you’re using a simple chemical trick: the salt lowers the temperature at which water turns to ice. This experiment lets children see that trick in action and measure how the amount of salt (the concentration) changes the speed of ice melting.
Overview
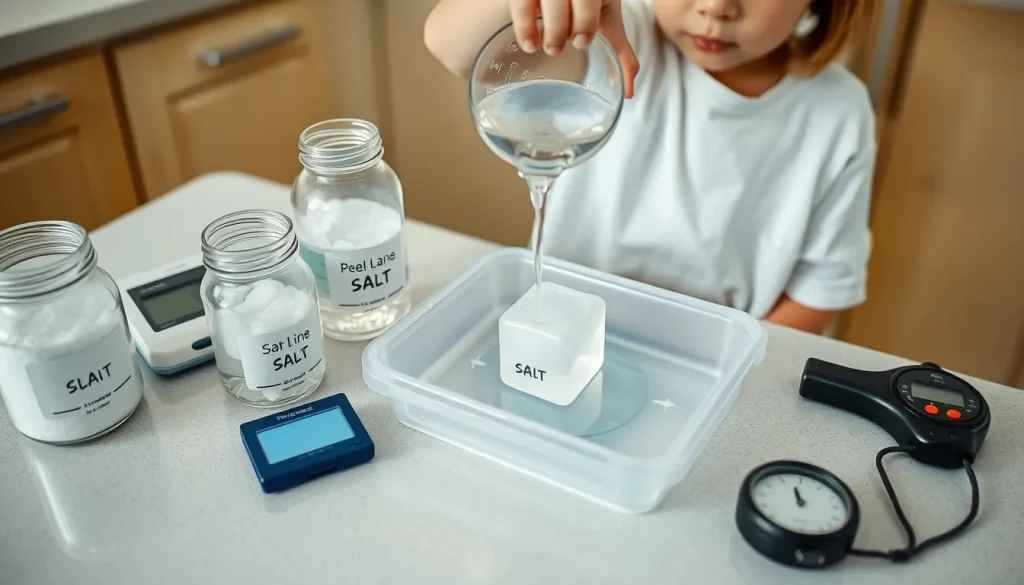
In this activity you will prepare several salt‑water solutions of different concentrations, pour each onto a small piece of ice, and time how long the ice takes to disappear. By keeping everything else the same—ice size, ambient temperature, and water volume—you can see directly how concentration controls melting speed.
Before You Begin
- Workspace: A kitchen counter or table with a flat, heat‑resistant surface (a cutting board works well). Have paper towels handy for spills.
- Adult supervision: Required for handling the freezer, measuring hot water (if used), and sharp objects.
- Temperature check: The room should be at least 15 °F (‑9 °C) above the eutectic temperature of the salt solution (about –6 °F for a 23 % NaCl brine) so that the solution can stay liquid. For most homes, a room temperature of 65 °F (18 °C) is fine.
Materials
- Table salt (sodium chloride) – common kitchen salt.
- Distilled or tap water.
- Measuring cups or graduated cylinders (ml).
- Digital kitchen scale (grams) or a set of measuring spoons.
- Six small, identical ice cubes (about 30 g each). Freeze water in a regular ice‑cube tray.
- Six shallow plastic trays or plates (same size).
- Stopwatch or phone timer.
- Thermometer (optional, to record room temperature).
- Pen and worksheet (provided in the data table below).
Testable Question
How does changing the concentration of a salt solution affect the time required for a fixed piece of ice to melt?
Hypothesis
Increasing the salt concentration will lower the freezing point of the water, so the ice should melt faster. Very low concentrations may have little effect, while concentrations above the optimal range (about 13‑23 % at 15 °F) could be less efficient because excess salt does not further lower the freezing point and may even hinder heat transfer [2].
Variables and Controls
- Independent variable: Salt concentration (% weight/volume).
- Dependent variable: Time (seconds) for the ice cube to melt completely.
- Controlled variables: Ice cube mass, water volume added, ambient temperature, type of salt, size of tray, and timing method.
- Control group: Pure water (0 % salt) poured over an ice cube.
Steps
- Label the six trays “0 %”, “5 %”, “10 %”, “15 %”, “20 %”, and “25 %”.
- Measure 100 ml of water into a clean container. This will be the base volume for all solutions.
- Calculate the salt needed for each concentration (weight/volume):
- 5 % = 5 g salt per 100 ml water
- 10 % = 10 g salt per 100 ml water
- 15 % = 15 g salt per 100 ml water
- 20 % = 20 g salt per 100 ml water
- 25 % = 25 g salt per 100 ml water
Use the kitchen scale to weigh each amount.
- Stir each salt amount into a separate 100 ml of water until fully dissolved. This creates the brine solutions. The 0 % tray receives plain water.
According to FHWA guidance, a salt must be in solution to act as a freezing‑point depressant; a dry particle will sit on the surface until it dissolves [1].
- Place one ice cube in the center of each labeled tray.
- Using a timer, pour exactly 20 ml of the corresponding solution over the ice cube (same volume for every trial). Start the stopwatch the moment the liquid contacts the ice.
- Observe and record the time when the ice has completely melted (no solid residue). If the ice does not melt within 5 minutes, note “>300 s”.
- Repeat steps 5‑7 for each concentration. Perform at least three trials per concentration to capture variability (total 18 runs).
- After all trials, clean the trays with water and dry them.
What to Observe or Measure
Record the following for each trial:
- Trial number.
- Salt concentration (% w/v).
- Time to melt (seconds).
- Any visual notes (e.g., bubbling, cloudiness).
Repeated Trials
Repeating each concentration three times lets you see natural variation (differences in ice crystal size, slight temperature shifts). Calculate an average melt time for each concentration and note the range.
Data Table
| Trial | Concentration (%) | Time to melt (s) | Notes |
|---|---|---|---|
| 1 | |||
| 2 | |||
| 3 |
Graphing Your Results
Create a simple line or scatter graph:
- X‑axis: Salt concentration (%).
- Y‑axis: Average melt time (seconds).
- Connect the points to see the trend. You should notice a decreasing curve up to a certain concentration, after which the benefit levels off or slightly rises.
The Science Explained
Salt lowers the freezing point of water—a phenomenon called freezing‑point depression. When salt dissolves, it creates a solution whose temperature must drop lower than pure water before ice can form. The more salt dissolved (up to the eutectic point), the lower the freezing point. For sodium chloride, the eutectic temperature is about –6 °F at roughly 23 % concentration [2]. Below this concentration, the solution can still exist as liquid and will melt ice by providing a warmer liquid barrier.
However, concentration that is too low (e.g., 1‑2 %) does not lower the freezing point enough to speed melting noticeably, especially at colder ambient temperatures. Conversely, concentrations far above the optimal range add extra salt without further lowering the freezing point; the excess solid can even insulate the ice, making melting slower [2]. This is why road crews aim for a “sweet spot” (13‑23 % at 15 °F) when making anti‑icing brines [1].
Troubleshooting
- Salt didn’t dissolve: Ensure the water is at room temperature or slightly warm (no more than 40 °C). Stir longer or break up clumps.
- Ice melted instantly: The solution may have been too warm or the ice cube too small. Use fresh, fully frozen cubes and keep the water at room temperature.
- Very long melt times (>5 min): Ambient temperature may be too low (near the eutectic point). Raise the room temperature or use a lower concentration range.
- Inconsistent times between trials: Record the exact start moment when the liquid contacts the ice. Use the same pouring technique each time.
Cleanup and Disposal
Rinse the trays with tap water and wipe dry. The salt solutions can be poured down the sink; they are safe for typical household drains but avoid large volumes if you have a septic system.
Next Steps
Try swapping sodium chloride for another de‑icing chemical, such as calcium chloride or magnesium chloride, and repeat the experiment. Compare the optimal concentration ranges (e.g., calcium chloride works at lower temperatures) to see how different salts behave [2]. You can also explore how temperature affects the same concentrations by conducting the test in a cooler room or a refrigerator.
Sources & references
- Recommended Anti-Icing Practices – Manual of Practice for an Effective Anti-Icing Program, FHWA, June 1996. https://www.fhwa.dot.gov/publications/research/safety/95202/005.cfm
- Properties of Salt – PDF, NDLTAP. https://www.ndltap.org/resources/downloads/properties-of-salt.pdf