Overview
This project lets children investigate a common question in acoustics: does the thickness (diameter) of a straw change the pitch it produces? By building several identical‑length straw instruments with different diameters, measuring the pitch with a free smartphone tuner, and comparing the results, kids see how geometry influences sound. The activity is safe, inexpensive, and fits a typical after‑school or homeschool session.
Testable Question
When the length of a straw is kept the same, how does changing the straw’s inner diameter affect the pitch (frequency) of the sound it produces?
Hypothesis
Based on basic wave physics, the primary factor that sets pitch is the length of the air column. Diameter has only a minor effect, mainly on timbre (tone colour). Therefore the hypothesis is: Straws of different diameters but identical length will produce pitches that are essentially the same, though the sound may feel slightly brighter or darker. This expectation follows the explanation that pipe diameter does not greatly affect fundamental frequency, only the harmonic content [2].
Materials
- Drinking straws of three different diameters (e.g., regular 5 mm, wide‑mouth 8 mm, and thin “smoothie” 3 mm). All should be the same brand so the wall thickness is comparable.
- Ruler or measuring tape (to verify length to the nearest millimeter).
- Sharp scissors or craft knife.
- Masking tape (to mark the cut point and keep straws together).
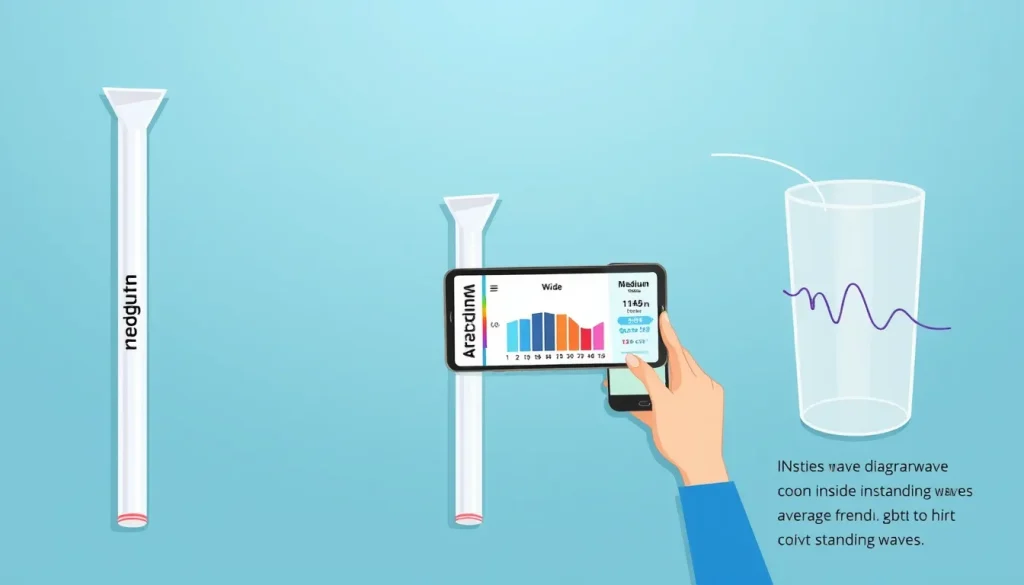
- Smartphone or tablet with a free pitch‑detection app (e.g., “Tuner – Guitar Simple” or “Pitch Lab”).
- Notebook or printed data table (provided below).
- Rubber band (optional, to hold the straw in the mouth more comfortably).
Before You Begin
- Choose a quiet room so the tuner can hear the straw clearly.
- Adult supervision is required when cutting straws.
- Make sure the smartphone’s microphone is not obstructed.
- Explain to children that the straw will act as a simple wind instrument, similar to the experiment described by Yamaha for a straw reed [1].
Procedure (Steps)
- Measure and cut the straws. Using the ruler, mark a length of 30 cm on each straw (the length is chosen because it gives a clear, audible pitch). Cut all three straws at the same point. Keep the cut ends clean.
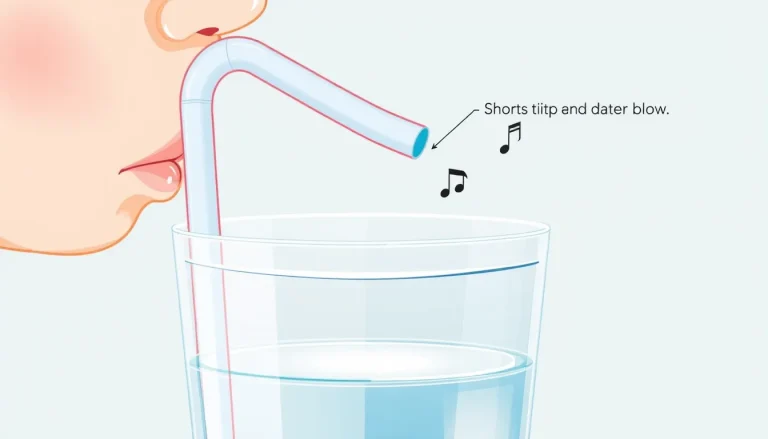
- Prepare the reed end. Following the Yamaha experiment, cut a small triangle (about 5 mm deep) at the tip of each straw to create a double‑reed sound source. The triangular cut should be the same size on every straw so the reed geometry is constant [1].
- Label the straws. Use a piece of masking tape to write “Thin”, “Medium”, and “Wide” on the opposite end of each straw.
- Set up the tuner. Open the pitch‑detection app, set it to display frequency in Hertz (Hz) and to capture the loudest sound.
- Play each straw. Hold the triangular end in your mouth, blow gently but steadily, and watch the tuner. Record the frequency that the app settles on (nearest whole Hz). If the app shows a fluctuating reading, pause and try again until a stable value appears.
- Repeat. For each straw, repeat the blowing three times and record all three readings. This provides a sense of repeatability.
- Swap the order. Randomize the order in which you test the straws to avoid any bias from warming the air column.
- Clean up. Store the straws in a zip‑lock bag for later comparison or discard if they become too damp.
Variables and Controls
- Independent variable: Straw inner diameter (thin, medium, wide).
- Dependent variable: Measured pitch (frequency in Hz).
- Controlled variables: Straw length (30 cm), reed cut shape, blowing force (as consistent as possible), ambient temperature, and the tuner app settings.
Repeated Trials
Each straw is played three times, giving nine data points total. More trials improve confidence but are not required for a beginner experiment.

What to Observe or Measure
- Frequency (Hz) shown on the tuner for each blow.
- Qualitative description of sound quality (e.g., “bright”, “dull”, “breathy”). This connects to timbre, which is known to change with pipe diameter [2].
Data Table
| Straw Diameter | Trial 1 (Hz) | Trial 2 (Hz) | Trial 3 (Hz) | Average (Hz) |
|---|---|---|---|---|
| Thin (≈3 mm) | ||||
| Medium (≈5 mm) | ||||
| Wide (≈8 mm) |
Graphing Your Results
Plot the average frequency for each diameter on a simple column chart. X‑axis: Straw diameter (Thin, Medium, Wide). Y‑axis: Average pitch (Hz). If the hypothesis holds, the columns will be nearly the same height, showing that diameter does not shift the fundamental frequency. Any small differences can be discussed in terms of measurement error or subtle acoustic effects.
The Science Explained
When you blow into a straw, the triangular cut acts like a double reed, creating a vibrating stream of air that excites standing waves inside the tube [4]. The length of the air column determines the wavelength of the fundamental standing wave:
v = f lambda, where v is the speed of sound (~343 m/s at room temperature), f is frequency, and lambda is wavelength. For a closed‑end pipe (one end closed by the reed), the fundamental wavelength is four times the pipe length, so the pitch is primarily a function of length.
Diameter influences the sound in two secondary ways:
- End correction. The effective length of the pipe is slightly longer than its physical length because the air vibrates a little beyond the open end. This correction is proportional to the diameter; a common approximation is L_eff = L + 0.6 d for an open pipe or L_eff = L + 0.4 d for a closed pipe, where d is the inner diameter [3]. For the short straws used here, the correction changes the pitch by only a few hertz, which is often within experimental uncertainty.
- Timbre (harmonic content). A wider pipe supports stronger higher‑order harmonics, making the sound brighter. This is why musicians notice a tonal difference even when the pitch stays the same [2]. The experiment’s qualitative notes capture this effect.
Thus, while diameter does not set the fundamental frequency, it subtly tweaks the effective length and certainly shapes the character of the sound.
Troubleshooting
- No sound at all. Check that the triangular cut is not flattened; the reed must have a sharp edge to vibrate [1]. Also ensure the cut is at the very tip, not farther back.
- Unstable pitch reading. Blow more steadily, keep the mouthpiece at a consistent depth, and avoid moving the phone while recording.
- All frequencies are identical. This may mean the diameter range is too narrow. If you have access to larger tubing (e.g., PVC or a garden hose), you can repeat the experiment with a broader range.
Worked Example (Illustrative)
Suppose a student measured the following frequencies (rounded to the nearest hertz):
| Straw | Trial 1 | Trial 2 | Trial 3 | Average |
|---|---|---|---|---|
| Thin (3 mm) | 523 | 527 | 525 | 525 |
| Medium (5 mm) | 522 | 526 | 524 | 524 |
| Wide (8 mm) | 520 | 524 | 522 | 522 |
The average pitches differ by only 3 Hz, well within typical measurement error, supporting the hypothesis that diameter has little effect on pitch. However, the student noted the wide straw sounded “brighter,” illustrating the timbre change.
Next Steps
After confirming the basic result, children can extend the investigation:
- Vary the straw length while keeping diameter constant to see the strong length‑pitch relationship.
- Use a longer pipe (e.g., a piece of PVC) and apply the end‑correction formula L = λ/2 – 0.4 d to predict pitch more precisely [3].
- Record the sounds and compare waveforms on a free audio‑analysis app to visualize harmonic content.
These follow‑up activities deepen understanding of wave physics and give children a taste of real scientific inquiry.
Related terms
- Pitch
- The perceived highness or lowness of a sound, determined by its frequency (cycles per second).
- Frequency
- Number of sound wave cycles that pass a point each second, measured in hertz (Hz).
- Timbre
- The quality or colour of a sound that lets us distinguish different instruments playing the same pitch.
- Resonance
- When a system vibrates strongly at certain natural frequencies, amplifying those tones.
- Standing wave
- A wave pattern that remains fixed in space, formed by the interference of two waves traveling in opposite directions.
Sources & references
- Yamaha Corporation – Straw reed experiment. https://www.yamaha.com/en/musical_instrument_guide/oboe/mechanism/mechanism003.html
- Stanford CCRMA – Does Diameter Matter. https://ccrma.stanford.edu/wp/musicmaker/does-diameter-matter/
- StickMan Physics – Straw Pan Flute design formula. https://stickmanphysics.com/stickman-physics-home/unit-10-waves/sound-waves/straw-pan-flute/
- AIP Observer – Straw Reed Instrument physics. https://students.aip.org/observer/straw-reed-instrument