Overview
This activity investigates a simple question that many children notice when they blow across the top of a bottle or dip a straw in water: Does adding a small water cavity inside a straw change the pitch of the sound it produces? By creating a controllable water pocket inside a drinking straw, learners can observe the pitch shift, record measurements, and relate the result to the physics of vibrating air columns.
Before You Begin
- Adult supervision: Required for cutting the straw and handling scissors.
- Workspace: A flat, dry surface near a sink or a container of water. Keep the area free of loose paper that could be blown around.
- Safety note: The experiment uses only a plastic drinking straw and water, so hazards are minimal. Ensure children do not place the straw in their mouths after it has been in water for an extended period.
Materials
- One standard 20‑cm plastic drinking straw (any diameter works, but a 6‑mm straw is ideal).
- Scissors (small, child‑safe if possible).
- One clear plastic cup or glass (capacity about 250 ml).
- Fresh tap water, enough to fill the cup about three‑quarters full.
- Ruler or measuring tape (optional, for more precise length measurements).
- Notebook or data sheet for recording observations.
- Pencil or pen.
Testable Question
How does the length of the air column in a straw change when a small water cavity is introduced, and what effect does that have on the pitch of the sound produced?
Hypothesis
Because the pitch of a sound from a tube is inversely related to the length of the vibrating air column, creating a water cavity that shortens the column should raise the pitch. Therefore, the straw with a water cavity will produce a higher‑pitched tone than the same straw with no water inside.
Procedure
- Fill the cup or glass about three‑quarters full with water and place it on the work surface.
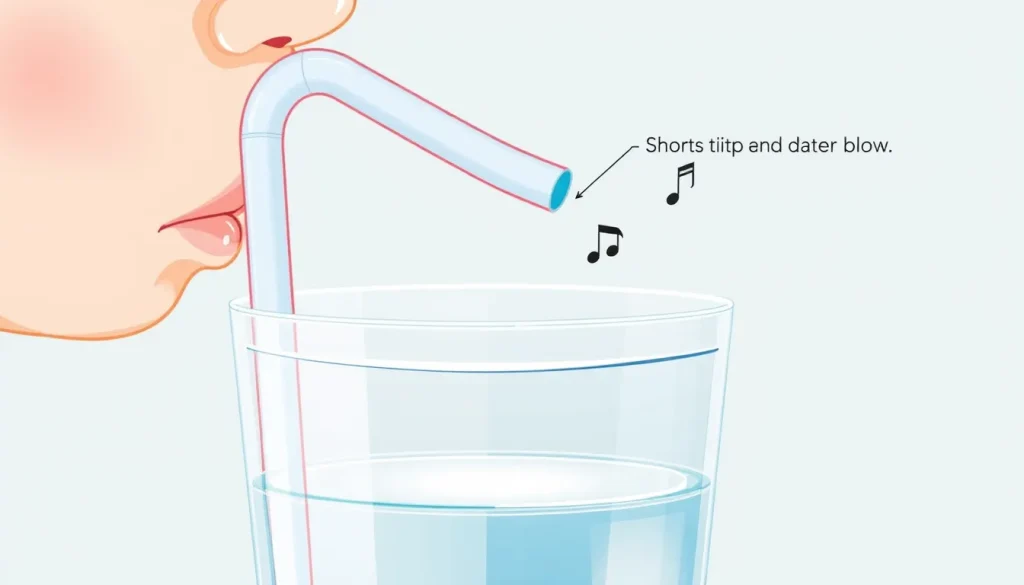
- Lay the straw flat on the table. Using the scissors, make a shallow cut about one‑third of the way down the straw (approximately 6–7 cm from one end). Cut almost all the way through the wall, leaving a thin bridge of plastic so the two sections stay attached. This creates a weak spot that will allow the straw to bend without breaking.
- Gently bend the straw at the cut so the two sections form a right angle (≈90°). The longer section will be the one you will insert into the water; the shorter section will be held to the lips.
- Place the longer section of the bent straw vertically into the water, keeping the bend at the water surface. The tip of the longer section should be just below the water line.
- With the shorter (dry) end of the straw, place your lips around it and blow a steady, gentle stream of air. Listen to the tone that emerges.
- Record the pitch you hear using a simple description (e.g., “low,” “medium,” “high”) or, if a tuner app is available, note the frequency in hertz (Hz).
- Now slowly lower the straw deeper into the water, in 1‑cm increments (or as far as the straw will go without submerging the bend). After each movement, blow again and record the pitch.
- When the straw is fully submerged (the bend is well below the water surface), repeat the blowing step and record the final pitch.
- Finally, remove the straw from the water, dry the short end, and repeat the entire sequence a second time to check reproducibility.
Variables and Controls
- Independent variable: Length of the air column, changed by varying how far the straw’s lower end is submerged in water.
- Dependent variable: Pitch of the sound, measured qualitatively (low/medium/high) or quantitatively (frequency in Hz).
- Controlled variables:
- Straw type (same straw for all trials).
- Blowing force (use a steady, gentle breath; avoid shouting).
- Water temperature (room temperature water for all trials).
- Ambient noise level (conduct the experiment in a quiet room).
- Control observation: Perform the same blowing steps with the straw completely out of the water (air column at full length). This provides a baseline pitch for comparison.
Repeated Trials
To assess consistency, repeat the entire series of submergence steps at least three times, recording the pitch each time. Consistent results strengthen confidence that the observed pitch change is due to the water cavity rather than random variation in breath strength.

What to Observe or Measure
- Pitch description: Use “low,” “medium,” “high,” or a musical note label (e.g., C4, D4) if you have a tuner app.
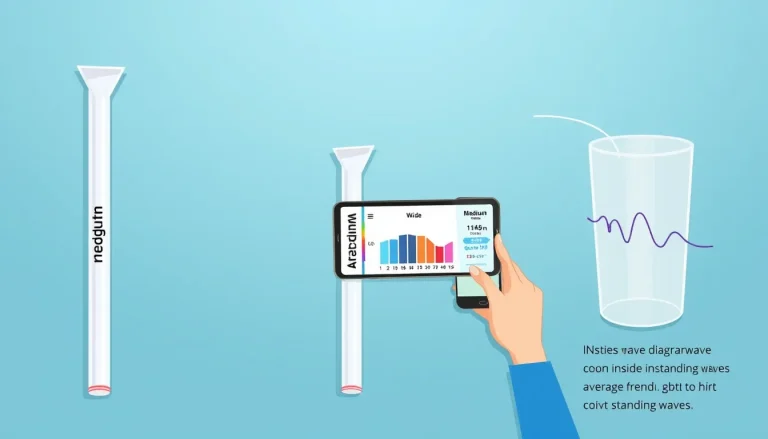
- Frequency (optional): If a smartphone tuner is available, note the frequency in hertz for each depth.
- Depth of water: Measure how far the straw tip is below the water surface (in cm) for each trial.
- Consistency of breath: Try to keep the blowing pressure as uniform as possible; you can practice a few blows before recording data.
Data Table
| Trial # | Depth Below Water Surface (cm) | Pitch (qualitative) | Frequency (Hz) – optional |
|---|---|---|---|
| 1 | 0 (no water) | ||
| 1 | 1 | ||
| 1 | 2 | ||
| 1 | 3 | ||
| 1 | 4 | ||
| 1 | 5 | ||
| 2 | 0 | ||
| 2 | 1 |
The Science Explained
When you blow into a straw, the air inside the tube vibrates. The portion of the tube that is filled with air acts as a resonating column. The fundamental frequency (the pitch you hear) is inversely proportional to the length of that column: a longer column vibrates more slowly and produces a lower pitch, while a shorter column vibrates more quickly and yields a higher pitch. This relationship is the same principle that makes a long flute sound deep and a short recorder sound bright.
Placing the lower end of the straw into water creates a water cavity that displaces air. The water itself does not vibrate in the same way; instead, the air column above the water surface becomes shorter. As the water level rises, the effective length of the vibrating air column decreases, so the frequency rises and the pitch becomes higher. This effect is demonstrated in many classroom activities, such as the “High and Low” column‑length experiment where a tube is lowered into water to change pitch[1] and the “Water Whistle” that uses a bent straw and water to produce a clear tone[2]. The same physics applies to your straw experiment.
Mathematically, for an open‑ended tube (both ends open to the air), the fundamental frequency is given by f = v / (2L), where v is the speed of sound in air (~340 m/s) and L is the length of the air column. Reducing L by submerging the tube therefore increases f, which we perceive as a higher pitch.
Troubleshooting
- No sound at all: Ensure the straw is not completely sealed by water. The bend must stay above the water surface, and the short end must be clear of water.
- Very faint sound: Blow gently but steadily; a too‑soft breath may not excite the air column sufficiently.
- Pitch does not change with depth: Verify that the water level is actually rising relative to the straw tip. If the straw is angled, the effective air column may not shorten as expected.
- Pitch jumps erratically: Inconsistent blowing pressure creates variable amplitudes. Practice a consistent breath before recording data.
Cleanup and Disposal
Discard the straw in the recycling bin (if your local program accepts plastic straws) or in regular waste if recycling is unavailable. Empty the water into the sink and wipe the cup dry. No hazardous materials are involved.
Next Steps
After confirming that water depth changes pitch, you can extend the investigation by:
- Testing straws of different diameters or lengths to see how those factors influence the pitch‑depth relationship.
- Using a smartphone frequency analyzer to plot pitch (Hz) versus air‑column length and compare the data to the theoretical f = v/(2L) curve.
- Exploring closed‑tube resonance by sealing one end of the straw with a finger and repeating the water‑depth experiment.
These extensions deepen the connection between everyday observations and the quantitative physics of sound.
Frequently asked questions
Can I use a metal straw instead of plastic?
A metal straw works, but it conducts heat and may feel colder. The physics is the same; just be careful not to bend the metal sharply.
Do I need a tuner app to measure pitch?
A tuner app is optional. Qualitative descriptions (low/medium/high) are sufficient for the basic experiment, but a frequency measurement adds quantitative depth.
What if the straw cracks when I cut it?
Make a shallow cut that leaves a thin bridge of plastic. If the straw breaks, discard it and start with a fresh one; the experiment only needs the bend, not a full cut.
Related terms
- Pitch
- The perceived highness or lowness of a sound, determined by its frequency.
- Frequency
- The number of vibrations per second, measured in hertz (Hz); higher frequency means higher pitch.
- Air column
- The length of air inside a tube that vibrates to produce sound.
- Resonance
- When a system vibrates at its natural frequency, producing a louder, clearer tone.