Overview
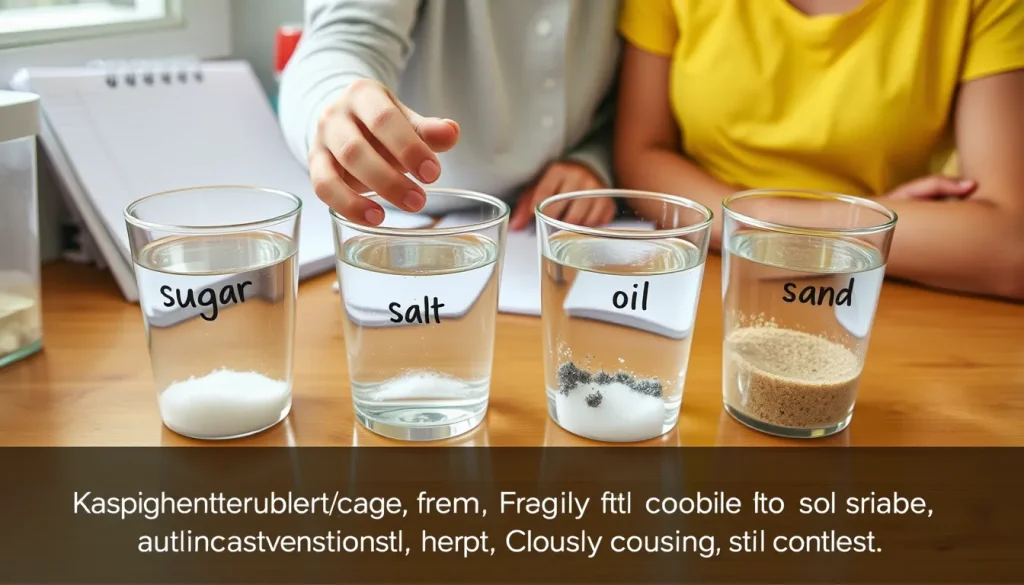
This project lets children discover what happens when a variety of everyday substances are added to a cup of water at room temperature (about 20 °C). By watching which items disappear, which form a cloudy mixture, and which remain unchanged, learners see the principle that water can dissolve many—but not all—materials. The activity is a demonstration rather than a hypothesis‑driven experiment; its goal is to illustrate the concept of solubility and the role of water’s polarity.
Before You Begin
- Choose a well‑ventilated workspace and a sturdy table where spills can be cleaned easily.
- Gather clear glass or plastic cups (one per material) so that each test stays separate.
- Label each cup with the name of the material you will test. Use masking tape and a permanent marker.
- Adult supervision is recommended for handling small glass containers and for cleaning up any mess.
Materials
- Room‑temperature tap water (about 20 °C)
- Clear cups (minimum 250 mL capacity) – one per material
- Measuring spoons or a small kitchen scale (optional, for consistent amounts)
- Household items to test (choose up to 8):
- Sugar (granulated)
- Table salt (sodium chloride)
- Baking soda (sodium bicarbonate)
- Instant coffee powder
- Vinegar (acetic acid, liquid)
- Vegetable oil
- Sand (dry)
- Flour
- Crushed chalk
- Aluminum foil (small piece)
- Stirring sticks (plastic or wooden)
- Timer or clock
- Notebook or worksheet for observations
Procedure
- Fill each cup with 100 mL of room‑temperature water. Keep the water level the same in every cup.
- Add a measured amount of the first material (e.g., 1 teaspoon of sugar) to its labeled cup.
- Start the timer and stir gently for 10 seconds with a clean stick.
- Observe what happens during stirring and record your observation in the table below (see “What to Observe”).
- After 1 minute, look again and note any changes. If the material has not dissolved, give it another gentle stir and wait another minute, then record.
- Repeat steps 2–5 for each material, using a fresh cup and fresh water each time.
- When all tests are complete, compare the results and discuss why some substances disappeared while others did not.
What to Observe or Measure
| Material | Initial Appearance | After Stirring (10 s) | After 1 min | Result |
|---|---|---|---|---|
| Example: Sugar | Granular white crystals | Mostly dissolved, few grains left | Clear solution, no visible particles | Fully soluble |
In the “Result” column, choose one of the following descriptors:
- Fully soluble – material disappears, forming a clear solution.
- Partially soluble – some particles remain after stirring.
- Insoluble – material stays visible and does not dissolve.
- Miscible (liquid‑liquid) – two liquids mix completely (e.g., vinegar).
- Immiscible (liquid‑liquid) – liquids form separate layers (e.g., oil).
The Science Explained
Water is called the “universal solvent” because its molecules are polar: they have a slight negative charge near the oxygen atom and a slight positive charge near the hydrogen atoms. This polarity lets water surround and pull apart ions and other polar molecules, pulling them into solution. The textbook definition of dissolution emphasizes that solute molecules become uniformly distributed among water molecules (e.g., sucrose dissolving in water)【1†URL】. Substances that are also polar (like sugar, salt, and many acids) interact well with water and dissolve readily.
Non‑polar substances, such as vegetable oil, lack the charge differences that attract water molecules, so they tend to clump together and form a separate layer. This is why oil “floats” on water rather than mixing.
Some solids are only partially soluble because the attractive forces between their particles are stronger than the forces water can exert. For example, sand is made of silica, a network of strong covalent bonds that water cannot break apart, so it remains as a suspension or settles to the bottom.
Temperature can affect solubility, but at room temperature many common salts and sugars already reach a high solubility limit. The demonstration therefore shows the baseline ability of water to dissolve substances without heating or cooling.
Understanding solubility is essential for everyday life: cooking (sugar in tea), cleaning (salt dissolving grime), and biology (nutrients dissolved in blood). Observing these simple examples helps children grasp why water is vital for life on Earth.
Troubleshooting & Safety Tips
- Material doesn’t dissolve at all: Verify you used room‑temperature water and not hot water, which could give a false impression of higher solubility.
- Cloudy appearance but no solid particles: The material may have formed a colloidal suspension (e.g., flour). Stir gently and let the cup sit; the particles may settle.
- Spill or splatter: Place a tray or newspaper under the cups. Clean up immediately with a damp cloth.
- Safety: All listed materials are common household items and safe in the small amounts used. However, avoid ingesting any test solutions and wash hands after the activity.
Cleanup and Disposal
Once observations are recorded, pour each solution down the drain with plenty of running water. Dispose of insoluble residues (sand, chalk, foil) in the trash. Rinse the cups and stir sticks with warm soapy water.
Next Steps
Children can extend the investigation by changing one variable at a time: try the same materials in warm water, or test different grain sizes (coarse salt vs. fine salt). Comparing results deepens the understanding of how temperature and particle size influence solubility.
Related terms
- Solute
- The substance that is dissolved in a solvent.
- Solvent
- The liquid that does the dissolving; water is the most common solvent.
- Solubility
- A measure of how much of a solute can dissolve in a given amount of solvent at a specific temperature.
- Polar molecule
- A molecule with a distribution of electric charge leading to positive and negative ends.
Sources & references
- OpenStax, “11.1 The Dissolution Process,” Chemistry 2e, https://openstax.org/books/chemistry-2e/pages/11-1-the-dissolution-process
- Wikipedia, “Properties of water,” https://en.wikipedia.org/wiki/Properties_of_Water
- U.S. Geological Survey, “Water, the Universal Solvent,” https://www.usgs.gov/water-science-school/science/water-universal-solvent