Overview
Every scientific observation begins with a number – a length, a mass, a volume, a temperature. That number only becomes meaningful when it is attached to the correct unit. This demonstration helps children (ages 6‑14) decide which unit is most appropriate for a measurement, estimate the size first, and then convert to a standard metric unit. The activity uses only paper, cardboard, a ruler (or a piece of string), a notebook, and a pencil – all items that are usually at home or in the classroom.
Before You Begin
- Choose a quiet workspace with a flat surface where you can measure objects without moving them.
- Gather a ruler marked in centimetres and metres, or a piece of string that can be measured later with the ruler.
- Explain to the child that the goal is to pick the unit that makes the number easy to read (for example, 150 cm is easier to understand than 1.5 m for a table that is about a metre long).
- Remind them that the metric system works in powers of ten, so converting between units is a matter of moving the decimal point (source 1).
Materials
- Paper (A4 or letter size) – for recording data and drawing a scale.
- Cardboard (a small piece, about 20 cm × 20 cm) – to make a simple conversion chart.
- Ruler or measuring tape marked in centimetres and metres.
- Pencil and eraser.
- Notebook or a sheet of paper for the data table.
Steps
- Pick an everyday object to measure – a book, a table leg, a kitchen spoon, or the width of a doorway.
- Ask the child to estimate the size using a familiar reference (e.g., “about as long as my hand”). Write the estimate in the notebook.
- Measure the object with the ruler. Record the raw measurement in the smallest unit on the ruler (usually centimetres).
- Look at the number you have written. Decide whether another unit would give a cleaner number (e.g., 150 cm → 1.5 m). Write the chosen “appropriate unit” next to the raw measurement.
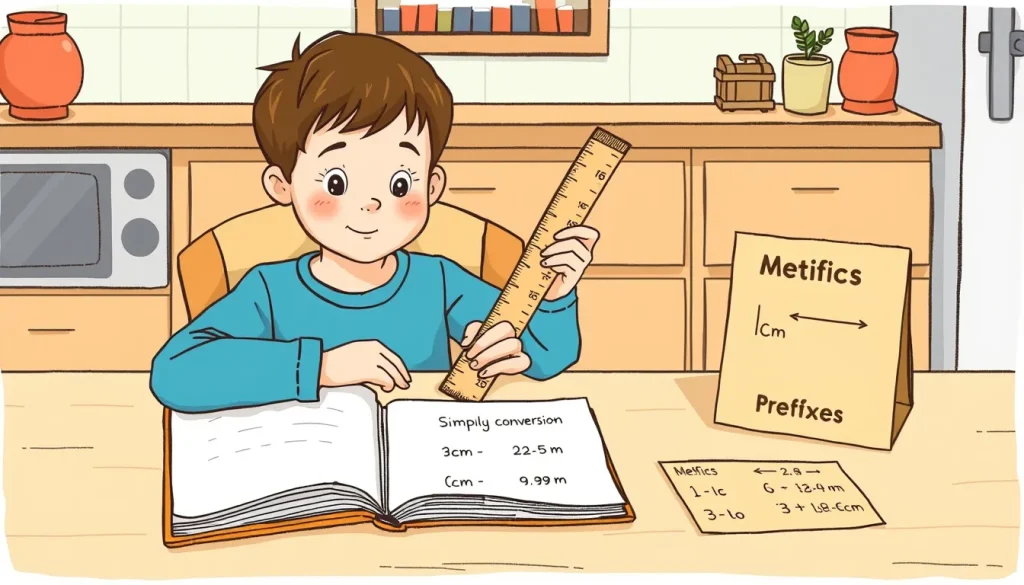
- Using the cardboard, draw a simple conversion table that shows the relationship between millimetres, centimetres, metres and kilometres (e.g., 1 m = 100 cm = 1000 mm). This reinforces the idea that each step is a factor of ten (source 2).
- Convert the raw measurement to the appropriate unit by moving the decimal point the required number of places. Record the converted value.
- Repeat steps 1‑6 for at least three different objects of varied sizes (one small, one medium, one large). This gives a range of numbers to compare.
- Review all the recorded values. Discuss which units made the numbers easiest to read and why.
What to Observe or Measure
Use the table below to record each observation. Include columns for:
- Object name
- Estimated size (in a familiar reference)
- Raw measurement (cm)
- Chosen appropriate unit (e.g., m, cm, mm)
- Converted value
| Object | Estimate | Raw (cm) | Chosen Unit | Converted Value |
|---|---|---|---|---|
The Science Explained
Measurements have two parts: a number and a unit. The unit tells us what kind of quantity we are looking at – length, mass, or capacity – and the scale of that quantity (source 4).
In the International System of Units (SI), the base units for everyday school work are metre (m) for length, kilogram (kg) for mass, and litre (L) for capacity. The metric system builds other units by adding prefixes that represent powers of ten. Two of the most common prefixes are:
- centi‑ means one‑hundredth (1 cm = 0.01 m).
- milli‑ means one‑thousandth (1 mm = 0.001 m).
Because the steps are always powers of ten, converting is simply moving the decimal point left (to make the unit larger) or right (to make the unit smaller). Choosing the “right” unit is a matter of readability: a number between 1 and 1 000 is usually easiest to handle. For a table that is 150 cm long, writing 1.5 m avoids a trailing zero and makes comparison with other objects simpler.
Worked Example
Suppose you measure a kitchen spoon and obtain 12 cm on the ruler.
- Ask the child: “Is 12 cm a convenient number, or would a larger unit be clearer?”
- Because 12 is already a small, whole number, centimetres are appropriate. No conversion needed.
Now measure a bookshelf that reads 225 cm.
- Convert to metres: 225 cm ÷ 100 = 2.25 m. The number 2.25 is easier to compare with other furniture measured in metres.
Record both the raw and converted values in the table. The child can see why the bookshelf uses metres while the spoon stays in centimetres.
Troubleshooting
- Ruler not marked clearly: Use a piece of string to span the object, then lay the string on the ruler to read the length.
- Wrong decimal move: Double‑check the prefix. Remember that each step (mm → cm → m) changes the decimal by two places (100 mm = 10 cm = 0.01 m).
- Estimation far off: Encourage the child to compare the object with a familiar item (a hand, a shoe) before measuring. This builds intuition for size.
Next Steps
After mastering length, repeat the process for mass (using kitchen scales) and capacity (using measuring cups). Create a single “Unit Choice” poster that lists the three basic dimensions – length, mass, capacity – and their common metric units. Children can refer to it whenever they start a new project, reinforcing the habit of selecting the most readable unit before any data analysis.
Related terms
- Unit
- A standard quantity used to express a physical measurement, such as metre for length.
- Metric prefix
- A word added to a base unit to indicate a power of ten, e.g., centi‑ for one‑hundredth.
- Conversion
- The process of changing a measurement from one unit to another by multiplying or dividing by a power of ten.