Overview
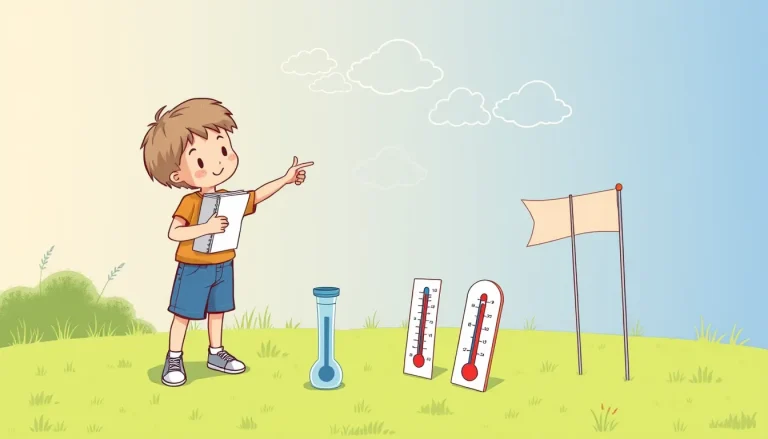
Rainfall is one of the most direct ways we can see the weather’s impact on the environment. By building a rain gauge from everyday cardboard, children can measure how much water falls in a given period, compare their data with official weather reports, and develop basic skills in observation, data handling, and scientific explanation.
Before you begin
- Choose a flat, level spot in the garden that is at least 1 metre away from trees, shrubs, fences, or sprinklers. The location should be open to the sky so that the gauge collects undisturbed rain.
- Gather an adult to help with cutting cardboard and securing the gauge.
- Plan to check the gauge at the same time each day (for example, after school at 4 pm) so that the observation schedule is consistent.
Materials
- One sturdy cardboard box (e.g., a cereal or shoe box) – the larger the interior volume, the fewer times you will need to empty it.
- Scissors or a craft knife.
- Clear packing tape or masking tape.
- Ruler (metric) and a waterproof marker.
- Two strips of plain cardboard or thick paper, 1 cm wide and at least 15 cm long (these become dipsticks).
- Optional: a small piece of waterproof plastic (e.g., a cut‑out from a milk jug) to line the bottom for extra durability.
Build the rain gauge
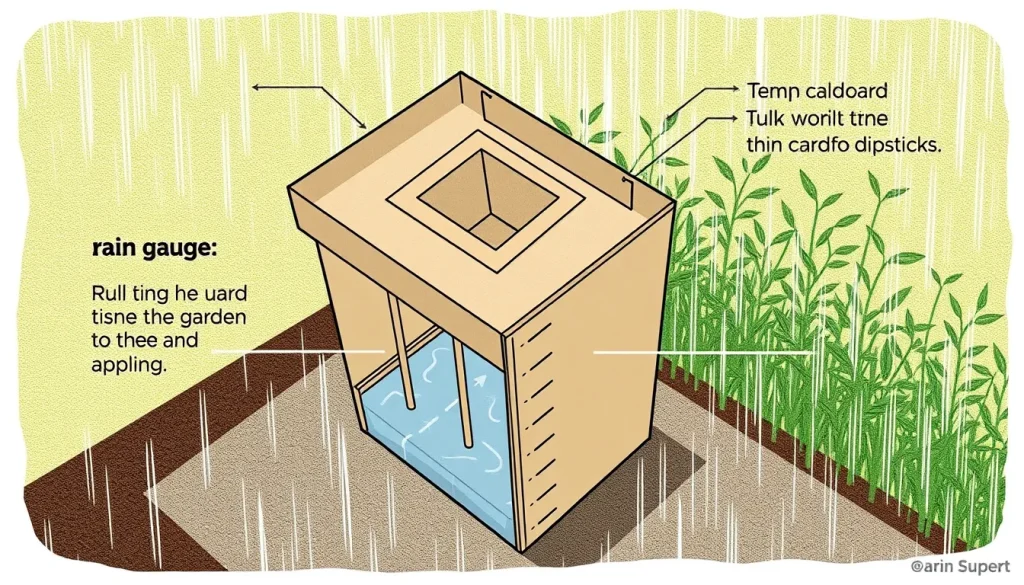
- Turn the box upside down so the lid becomes the base. If the lid has a narrower mouth than the box, cut away any lip so the opening is the same width as the interior – a uniform opening prevents water from spilling over the sides (see source [1]).
- Cut a square opening in the centre of the lid about 8 cm × 8 cm. This will act as a funnel. If you prefer a smoother funnel, cut a larger circle (≈10 cm diameter) and tape a piece of cardboard in a cone shape inside the opening.
- Secure the funnel with tape so it does not shift when the gauge is moved.
- Place the box (now the collecting chamber) on a flat surface and, if desired, line the bottom with the thin plastic piece to make it waterproof.
- Using the ruler and marker, draw a vertical scale on the outside wall of the box. Mark every 10 mm (1 cm) up to the height you expect the gauge to fill in a heavy rainstorm (for most regions, 200 mm is a safe maximum). Label the marks with the corresponding millimetre values.
- Make two dipsticks: cut two long strips of cardboard 1 cm wide and longer than the height of the gauge. These will be used to read the water level without disturbing the measurement (method described in source [1]).
- Attach a small piece of tape to each dipstick so it can be lowered into the gauge without bending.
Set up the observation station
- Place the completed gauge on a stable, level board or a shallow tray to keep it upright during wind.
- Secure the gauge to the ground with a few small stones or a light garden stake if the site is windy.
- Position the gauge so the opening faces north (in the Southern Hemisphere) or away from prevailing strong winds to reduce splashing.
- Keep a notebook or printable observation journal nearby (see below).
What to observe and record
Each day, at your chosen time, perform the following steps:
- Gently lower a dipstick into the water until it just touches the bottom of the gauge.
- Lift the dipstick out and look at the wet mark on the cardboard. Measure the length of the wet portion with the ruler and record the value in millimetres. This number equals the depth of rain that has fallen since the gauge was last emptied.
- Write the date, measured rainfall (mm), and any notes (e.g., “heavy thunderstorm,” “light drizzle”) in the observation journal.
- Empty the gauge by pouring the water out, then wipe the interior dry. If the water level exceeds the top of the gauge, note the overflow and empty immediately.
Below is a ready‑to‑print data table you can copy into a notebook.
| Date (dd/mm/yyyy) | Rainfall (mm) | Notes / Weather description |
|---|---|---|
The science explained
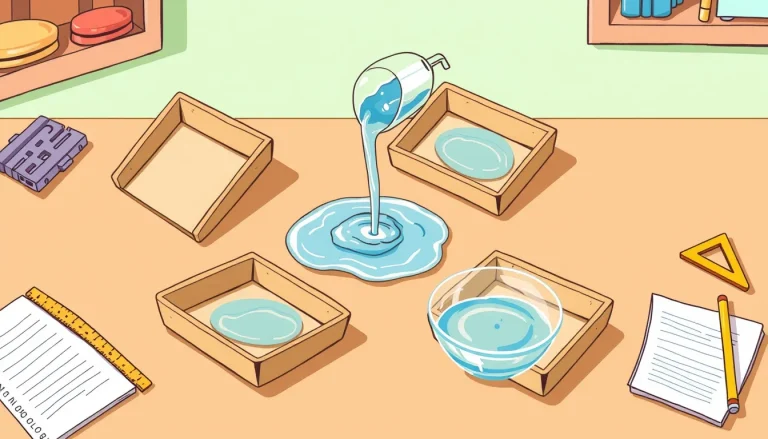
Rainfall depth is expressed in millimetres (mm). One millimetre of rain means that, if the water were spread evenly over a flat surface, it would form a layer 1 mm thick. Because the gauge’s opening has a known area (the same as the box’s interior), the depth measured by the dipstick directly represents the volume of water that fell per unit area.
Measuring precipitation helps meteorologists track weather patterns, predict floods, and understand climate trends. By comparing your daily observations with official data from the national weather service, students can see how local micro‑climates (e.g., shade from a tree) may cause small differences.
Key concepts involved:
- Precipitation: water that falls from clouds as rain, snow, sleet, or hail.
- Measurement accuracy: the gauge must be level, free of obstructions, and have a clear scale. Small errors can arise from wind blowing rain out of the funnel or from splashes on the sides.
- Data consistency: recording at the same time each day removes the variable of evaporation, which can reduce the water level if the gauge sits for many hours before checking.
Troubleshooting
- Gauge overflows: If the water rises above the top of the box, note “overflow” and empty immediately. Consider using a larger box or emptying more frequently during stormy periods.
- Uneven water level: Check that the gauge sits on a level surface. Use a small spirit level or a carpenter’s level if available.
- Wind‑driven splash loss: Place a short windbreak (a piece of cardboard standing 10 cm high) upwind of the opening, but keep it far enough not to block rain.
- Staining of dipsticks: Rinse dipsticks with clean water after each use and let them dry flat before the next measurement.
Next steps
After a month of daily records, have the children create a simple bar chart showing the amount of rain each week. They can then compare their chart with the official monthly total from their national weather service (often available online). This extension reinforces graphing skills and introduces the idea of data validation.
For a longer‑term project, students might investigate how different surfaces (grass, concrete, sand) affect runoff by measuring how quickly water disappears from a shallow tray placed next to the gauge after a rain event.
Frequently asked questions
How often should the gauge be emptied?
Empty the gauge each day after recording the measurement. If a heavy storm fills the gauge before your regular check, empty it as soon as possible and note the overflow.
What if the gauge is placed on a slope?
The gauge must sit on a level surface; otherwise the water will pool to one side and give an inaccurate depth. Use a flat board or a small tray to level the gauge.
Can I use a plastic bottle instead of cardboard?
Yes, a clear plastic bottle works well and is described in the Met Office guide, but the cardboard version keeps the project inexpensive and demonstrates how simple materials can be used for scientific measurement.
Related terms
- Precipitation
- Any form of water—rain, snow, sleet, or hail—that falls from the atmosphere to the Earth's surface.
- Rain gauge
- A device that collects and measures the amount of liquid precipitation over a set period.
- Millimetre (mm)
- A unit of length equal to one‑thousandth of a metre; in rainfall it represents the depth of water collected over a flat surface.
Sources & references
- Tin can rain gauge – Cape Nature. https://www.capenature.co.za/uploads/files/Tin-can-rain-gauge.pdf
- Make your own rain gauge – Met Office. https://weather.metoffice.gov.uk/learn-about/met-office-for-schools/other-content/other-resources/weather-station/rain-gauge
- Rain gauge design instructions – Water Education. https://www.watereducation.org/sites/main/files/file-attachments/3_raingaugedesigninstructions.pdf
- Learning Lesson: It’s the “Rain,” Man – NOAA. https://www.noaa.gov/jetstream/global/earning-lesson-its-rain-man