Orientation – What You’ll Do
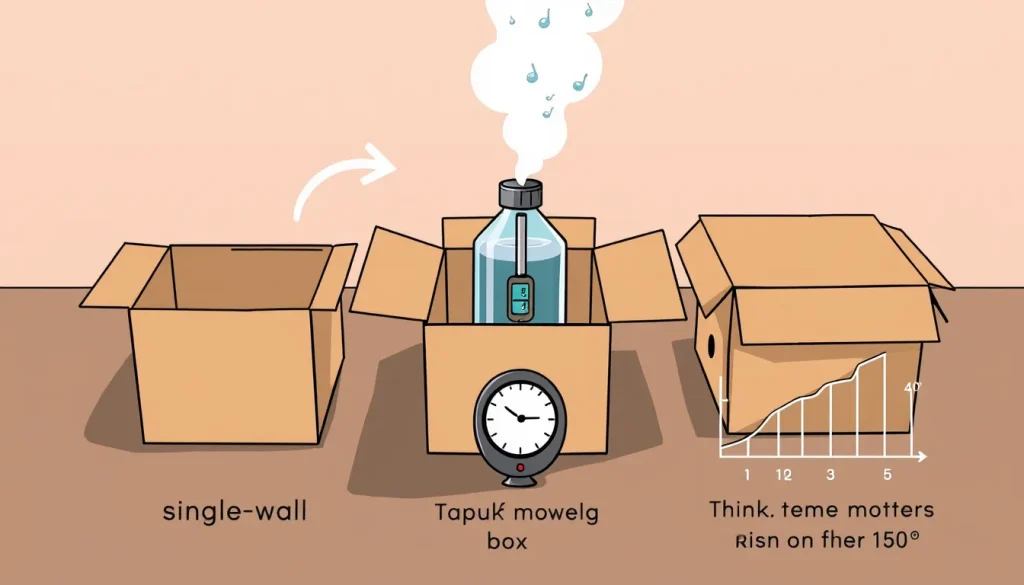
This activity is an engineering challenge: you will design, build, and test three small “houses” made from different kinds of cardboard. By keeping a warm water bottle inside each house and recording the interior temperature over time, you can decide which cardboard type works best as an insulator.
Before You Begin
- Choose a quiet, draft‑free area where the room temperature stays roughly constant (about 20‑22 °C or 68‑72 °F) for the duration of the test.
- Gather an adult to help cut cardboard, handle hot water, and read the thermometer.
- Set a timer or use a phone stopwatch so you can record temperature at regular intervals.
Materials
- Three sheets of cardboard, each a different type (e.g., single‑wall corrugated, double‑wall corrugated, and thick cardboard from a moving box). All sheets should be cut to the same dimensions (approximately 20 cm × 20 cm × 10 cm).
- Scissors or a craft knife (adult use only).
- Clear packing tape.
- One 500 ml plastic bottle with a screw‑on lid (to hold warm water).
- Hot water (just off the boil, about 80 °C/176 °F).
- Two digital thermometers or one that can be moved quickly between boxes (range 0‑100 °C, accuracy ±0.5 °C).
- Notebook or printed data table (see below).
- Ruler or measuring tape.
Design Constraints and Success Criteria
Constraints
- All three boxes must have the same external dimensions and wall thickness (use the same cardboard thickness for each type; if thickness varies, record the exact thickness).
- Each box must be sealed with tape so that air does not leak around the edges.
- The warm water bottle must start at the same temperature in each test (measure with the thermometer before placing it inside).
- Room temperature must remain as constant as possible during the experiment.
Success criteria
- Time (in minutes) for the interior temperature to drop 10 °C from its starting value.
- Or, temperature remaining after a fixed 20‑minute period.
Steps – Building and Testing the Boxes
- Cut the cardboard. Using the ruler, cut each sheet into six pieces: a base, a top, and four side panels. All pieces should be identical across the three cardboard types.
- Assemble the boxes. Tape the sides to the base, then tape the top on last so you can open the box to place the water bottle. Make sure the seams are tight.
- Measure wall thickness. Use a ruler or caliper to record the thickness of each cardboard type (e.g., 2 mm, 4 mm, 6 mm). Write this on the data sheet.
- Prepare the heat source. Fill the plastic bottle with hot water (about 80 °C) and quickly screw the lid on. Record the exact temperature of the water with a thermometer.
- Start the test. Place the warm bottle in the first box, close the lid, and immediately insert the interior thermometer through a small slit (seal the slit with tape after insertion). Record the initial interior temperature (should be close to the water temperature).
- Record temperature over time. Every minute for 30 minutes, note the interior temperature. If the thermometer is removable, quickly take it out, note the reading, and replace it.
- Repeat. Remove the bottle, let the box return to room temperature, then repeat steps 5‑7 with the second and third cardboard boxes, using a freshly heated water bottle each time.
- Clean up. Dispose of the water safely, recycle the cardboard, and store the thermometers.
What to Observe or Measure
Use the table below to record your data. You can copy it onto paper or type it into a spreadsheet.

| Box # (Cardboard type) | Wall thickness (mm) | Start temp (°C) | Minute 5 (°C) | Minute 10 (°C) | Minute 15 (°C) | Minute 20 (°C) | Minute 25 (°C) | Minute 30 (°C) |
|---|---|---|---|---|---|---|---|---|
| (Enter your numbers here) | ||||||||
The Science Explained
Heat moves from a warm object to a cooler one through conduction, where vibrating molecules pass energy to neighboring molecules. Materials that have tightly packed particles (like metals) conduct heat quickly, while materials with lots of air pockets or low‑density fibers slow the transfer.
Cardboard is a composite of paper fibers and air cells. Thicker cardboard or cardboard with more trapped air (e.g., double‑wall corrugated) provides a longer pathway for heat to travel, reducing the rate of temperature loss. This is why a corrugated pizza box, which has a wavy “flute” layer, can keep a pizza warm longer than a thin single‑wall sheet.
In this challenge you are essentially measuring the effective thermal resistance (R‑value) of each cardboard type. The box that retains heat longest has the highest R‑value, meaning it is the best insulator for the given thickness.
Troubleshooting
- Temperature drops too fast. Check that all seams are sealed tightly; any gap lets warm air escape.
- Thermometer readings jump erratically. Allow the probe to sit for a few seconds before recording, and make sure it is not touching the cardboard wall.
- Room temperature changes. Close windows/doors and avoid direct sunlight or drafts during the test.
- Boxes differ in thickness. If you cannot find cardboard of the same thickness, record the actual thickness and consider normalizing the results by dividing temperature loss by thickness.
Try Another Version
After you have identified the best insulating cardboard, you can explore a new question: How does adding a reflective surface (like aluminum foil) affect performance? Build a fourth box identical to the best one but line the interior walls with a sheet of foil, then repeat the test. This extension introduces the concept of radiative heat loss and lets children compare conduction‑only versus combined conduction‑and‑reflection designs.
Next Steps
Use the findings to design a real‑world package, such as a lunchbox or a gift‑wrap box, and test it with cold items (ice packs) to see how long the interior stays cool. The same engineering process—define a goal, set constraints, prototype, test, and improve—applies to many everyday problems.
Related terms
- Conduction
- Transfer of heat through a solid material as vibrating particles pass energy to neighboring particles.
- Thermal resistance (R‑value)
- A measure of how well a material resists heat flow; higher R‑value means better insulation.
- Air pocket
- Small trapped spaces of air within a material that slow heat transfer because air is a poor conductor.
Sources & references
- Keep the Heat in! Testing the Insulation Properties of Materials - Teach Engineering, https://www.teachengineering.org/activities/uoh-2668-keep-heat-in-insulation-materials-activity
- Engineering the Perfect Pizza Box — 6th Grade Activity, https://lessonlifeline.ai/library/activity/6th-grade/engineering-the-perfect-pizza-box-3596e9