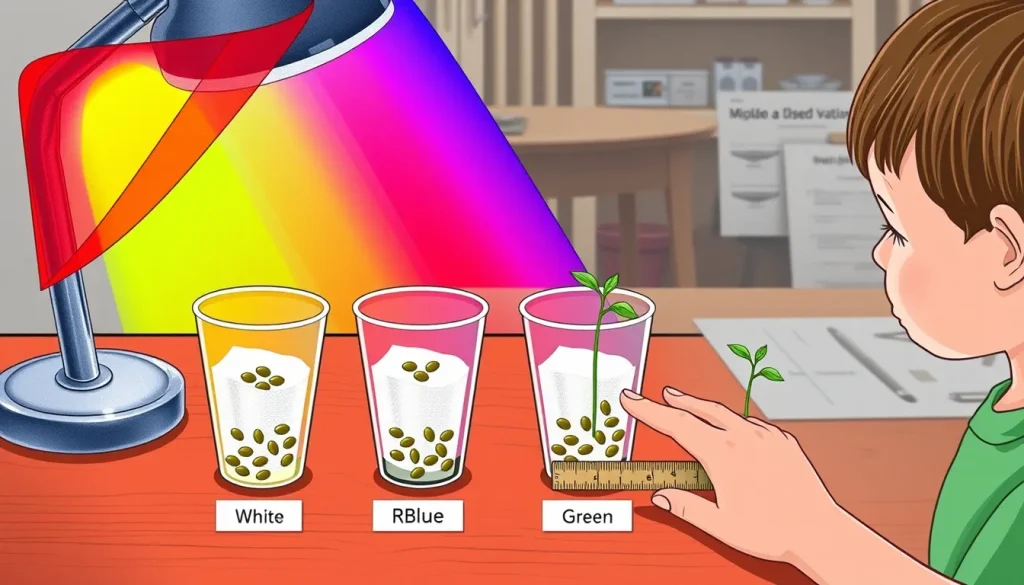
Plants need light to start the process of germination and early growth. While many students know that “light is good for plants,” the color (wavelength) of that light can change how quickly a seed sprouts and how tall the first leaves become. This observation activity lets children watch bean seeds germinate under four different light colors—white (full spectrum), red, blue, and green—and record what they see.
Before you begin
- Choose a quiet space where the four light setups can stay undisturbed for at least one week.
- Gather the materials (see list below) and set up a simple daily schedule for checking the seeds.
- Explain to students that they are not trying to prove anything this time; they are simply recording what happens under each light.
- Make sure an adult can help with any cutting of colored filters and with handling the light source.
Materials
- Dry bean seeds (e.g., pinto or lima beans) – about 20 seeds per light color.
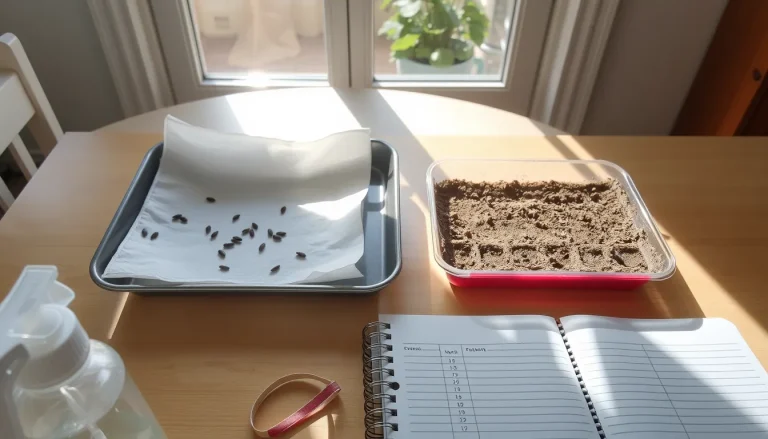
- Paper towels (plain white).
- Water in a spray bottle or small cup.
- Four clear plastic cups or small containers (same size).
- One desk lamp or LED light that can stay on continuously.
- Colored transparent sheets or cellophane (red, blue, green). White light is the lamp without any filter.
- Masking tape or rubber bands to attach the colored sheets to the lamp.
- A notebook or printed observation journal (template provided below).
Steps
- Label each cup “White,” “Red,” “Blue,” and “Green.”
- Place a folded paper towel at the bottom of each cup and moisten it with enough water to be damp but not soaking.
- Arrange five seeds evenly on the paper towel in each cup. Try to keep the same orientation (e.g., seed coat down) for consistency.
- Cover each cup with a loose lid or another piece of paper towel to keep humidity stable, but leave a small gap for light to enter.
- Set the lamp so that it shines equally on all four cups. Attach the red filter over the “Red” cup, the blue filter over the “Blue” cup, and the green filter over the “Green” cup. Leave the “White” cup exposed to the lamp’s full spectrum.
- Turn the lamp on and keep it on for the duration of the observation (about 12‑14 hours each day is sufficient for seedlings). If the classroom has a ceiling light, you can also use that as “White” and place the colored filters directly on the cups.
- Each morning, have students record what they see in the observation journal (see template). They should note:
- Whether each seed has cracked (the first sign of germination).
- The length of any emerging root (radicle) or shoot (hypocotyl) in millimetres, if visible.
- Any differences in colour or vigor of the seedlings.
- Water the paper towels lightly if they begin to dry out. Keep the amount of water the same for all cups.
- Continue observations for at least 7 days, or until most seeds have sprouted.
Observation journal
| Date | Light color | Seeds germinated (count) | Average root length (mm) | Average shoot length (mm) | Notes (e.g., seedling colour, leaf shape) |
|---|---|---|---|---|---|
| White | |||||
| Red | |||||
| Blue | |||||
| Green |
What to observe or measure
During the observation period students will record two kinds of data:
- Qualitative observations – visual notes such as “seedling looks pale under green light” or “cotyledons opened faster under blue light.”
- Quantitative measurements – counts of how many seeds have cracked each day, and simple ruler measurements of root and shoot length (to the nearest millimetre). These numbers let children compare the speed of germination across colors.
The science explained
Visible light is made up of many wavelengths. Red light has a long wavelength (around 620‑750 nm) and blue light has a short wavelength (about 450‑495 nm) [1]. Plants use light energy to drive photosynthesis, the process that converts carbon dioxide and water into sugars and oxygen. Different wavelengths are absorbed by different pigments in the seedling’s chloroplasts. Blue light is especially effective at triggering the production of chlorophyll, while red light can promote stem elongation and flowering in older plants [1]. During the first few days after a seed absorbs water, the embryo relies on stored nutrients, but light quality already begins to influence how quickly the seedling opens its first leaves (cotyledons) and how robust the early growth is.
Because the activity is an observation rather than a controlled test, children should treat any differences they see as patterns to discuss, not as proof of cause and effect. The activity connects directly to basic science standards about life processes and energy transformations (e.g., “Plants need light to grow” and “Different colors of light have different effects”) [1]. It also reinforces the idea that a seed’s germination requires three things: water, the right temperature, and, for many seeds, light [2].

Troubleshooting tips
- Seeds do not sprout after 3 days: Check that the paper towel stays moist. If it dries out, lightly mist each cup.
- One cup receives more heat: Ensure the lamp is positioned equidistant from all cups. Use a ruler to measure the distance and adjust if needed.
- Colored filters look dull: Use thin, transparent cellophane rather than thick colored plastic, which can block too much light.
- Seedlings become leggy: Reduce the light‑on time to about 12 hours per day; too much continuous light can stretch seedlings.
Next steps
After the week of observation, bring the data together on a simple bar chart (light color on the horizontal axis, number of germinated seeds on the vertical axis). Discuss with the class which color seemed to help seeds sprout fastest and why the science behind pigments might explain the pattern. For a more formal investigation, students could turn this observation into an experiment by adding a hypothesis and repeating the trial with additional replicates.
Related terms
- Photosynthesis
- The process by which green plants use sunlight to turn carbon dioxide and water into sugars and oxygen.
- Wavelength
- The distance between successive peaks of a light wave; different colors of visible light have different wavelengths.
- Germination
- The stage when a seed begins to grow and develop into a new plant, marked by the emergence of a root and shoot.
Sources & references
- Teacher Edition Effect of Light Colors on Bean Plant Growth – University of Delaware. https://www1.udel.edu/MERL/Outreach/TeachersGuide/2.EffectsofcoloronplantgrowthTE.pdf
- Germination Station! – Delaware Botanical Garden. https://dmbotanicalgarden.com/wp-content/uploads/2024/07/Germination-Station.pdf
- How Light Affects Seed Germination – How Things Work. https://how-things-work-science-projects.com/how-light-affects-seed-germination/
- The Secret Life of Seeds: Germination Rates Under Different Light Colors – Science Fair Projects. https://sciencefair-projects.org/projects/secret-life-of-seeds-germination-light-colors