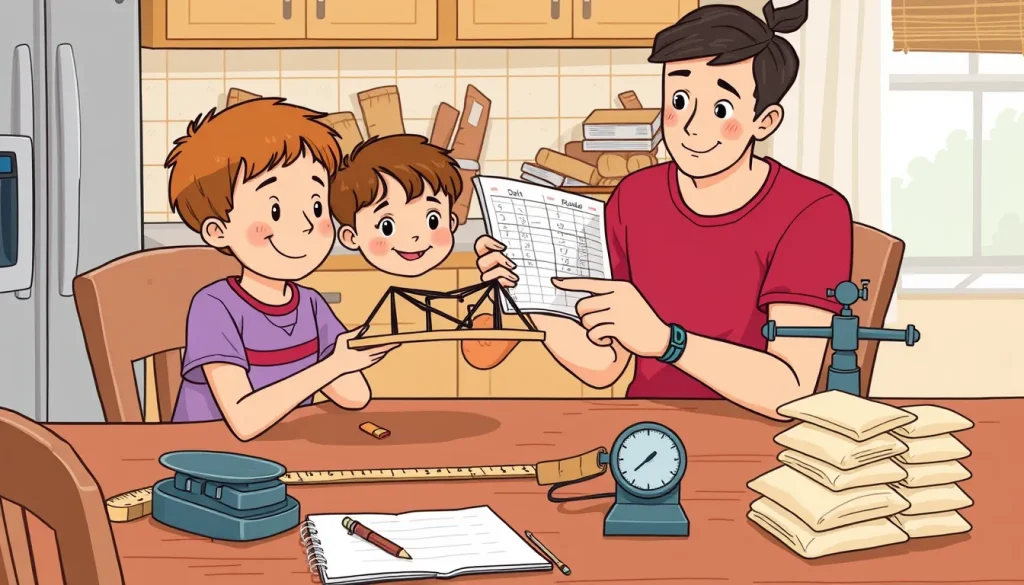
Overview
An engineering project for a science fair is not a hypothesis‑driven experiment; it is a purposeful design solution to a real need. The goal is to create a usable product or system, then test it against measurable criteria. This guide walks you through the whole process—from identifying a problem to presenting results—using everyday household items.
Before You Begin
- Know the design process. Familiarize yourself with the six‑step engineering design cycle (define, research, specify, brainstorm, develop, test/redesign) as described by Science Buddies [3].
- Check fair requirements. Most regional fairs follow ISEF rules, which require a formal engineering plan and clear documentation [2].
- Set up a safe workspace. A flat table, good lighting, and adult supervision are essential, especially when cutting or using hot glue.
Materials (Everyday Options)
Choose items that are inexpensive and easy to obtain. Below is a basic list; substitutions are allowed as long as they meet the same functional role.
| Item | Purpose |
|---|---|
| Cardboard, poster board, or foam board | Structure for bridges, towers, or containers |
| Wooden craft sticks or popsicle sticks | Reinforcement and load‑bearing members |
| Rubber bands, string, or yarn | Elastic connectors or tension elements |
| Masking tape, duct tape, or hot‑glue sticks | Fastening components |
| Plastic bottles, cups, or containers | Weight, buoyancy, or fluid‑holding experiments |
| Ruler, measuring tape, and kitchen scale | Accurate measurements of dimensions and forces |
| Notebook or design journal | Record requirements, sketches, and test data |
Step‑by‑Step Design Process
- Define the problem. Write a concise statement such as, “Design a bridge that can hold the greatest weight while using no more than 100 g of material.”
- Do background research. Look up basic principles (e.g., tension vs. compression) on reputable sites like Science Buddies [3]. Document sources in your notebook.
- Specify requirements and constraints. List measurable goals (load capacity, length, cost) and limits (material budget, size, safety). This satisfies the Minimum Quality Requirements for engineering projects [2].
- Brainstorm multiple solutions. Sketch at least three different bridge shapes (triangular, arch, truss). Number each idea for later comparison.
- Choose the best solution. Evaluate each sketch against the requirements. Select the design that promises the highest load while staying within constraints.
- Develop the prototype. Build a scaled model using your chosen materials. Keep a detailed log of dimensions, material amounts, and construction steps.
- Test and redesign. Apply weight incrementally (e.g., using small sandbags or water bottles). Record the load at which the prototype fails. If performance is below the success criterion, modify the design and retest.
Design Constraints and Success Criteria
Effective engineering projects include clear, measurable targets. Examples:
- Load capacity. Must support at least 2 kg without permanent deformation.
- Material limit. Total mass of all components ≤ 100 g.
- Size restriction. Bridge span ≤ 30 cm.
Success is achieved when the prototype meets or exceeds all criteria after at most three redesign cycles.

Variables, Controls, and Repeated Trials
Even though engineering projects are not hypothesis tests, they still need systematic data collection.
- Independent variable. The design feature you are changing (e.g., shape of the truss).
- Dependent variable. Measured outcome (e.g., maximum load before failure, recorded in newtons or kilograms).
- Controlled variables. Test surface, method of adding weight, ambient temperature, and measurement tools.
- Repeated trials. Perform at least three trials for each design to account for construction variability. Consistent repetition improves confidence in the result [4].
Data Table Template
| Trial | Design ID | Material Mass (g) | Maximum Load (kg) | Failure Mode |
|---|---|---|---|---|
| 1 | ||||
| 2 | ||||
| 3 |
Troubleshooting Common Issues
- Prototype collapses too early. Check for weak joints; add extra tape or reinforce high‑stress nodes.
- Inconsistent load measurements. Use the same set of weights each trial and ensure the scale is zeroed before each test.
- Exceeding material budget. Re‑evaluate each component’s necessity; replace heavy cardboard with lighter foam board.
Science‑Fair Extension
To turn the activity into a competition‑ready entry, add these documentation pieces:
- Abstract (150‑200 words). Summarize the problem, design approach, key results, and conclusion.
- Engineering Plan. Include problem statement, requirements table, sketches, and a bill of materials.
- Data Analysis. Create a bar graph of maximum load for each design (use the data table). Discuss trends and why one design outperformed others.
- Display Board. Follow the typical three‑section layout: Introduction, Method, Results & Discussion, and Future Work.
All of these components satisfy the ISEF‑style engineering project requirements [2].
Cleanup and Disposal
Recycle cardboard and plastic components where possible. Dispose of broken sticks in regular trash, and store reusable items for future projects.
FAQ
Do I need a hypothesis for an engineering project?
No. Engineering projects focus on creating and testing a solution against defined criteria, not on testing a hypothesis about cause and effect.
How many prototypes should I build?
Start with one prototype, test it, and then redesign up to two more times. Most fairs consider three design iterations sufficient if each is documented.
Can I use a digital scale instead of a kitchen scale?
Yes, any measuring device that provides accurate, repeatable readings in the same units is acceptable.
Related terms
- Engineering design process
- A systematic series of steps (define, research, specify, brainstorm, develop, test/redesign) used to create solutions to real‑world problems.
- Constraint
- A limitation or requirement (such as material weight, size, or cost) that a design must satisfy.
- Prototype
- An early, testable version of a product used to evaluate performance before final construction.
Sources & references
- How to Do Engineering Projects, Science Fair.org, https://science-fair.org/students-parents/winning-engineering-projects/
- Minimum Quality Requirements for Project Types, Science Fair.org, https://science-fair.org/rules-and-registration/project-standards/
- Engineering Design Project Guide, ScienceBuddies.org, https://www.sciencebuddies.org/science-fair-projects/engineering-design-process-guide
- Preparing Experimental Procedures for a Science Fair Project, ScienceBuddies.org, https://www.sciencebuddies.org/science-fair-projects/science-fair/writing-experimental-procedures